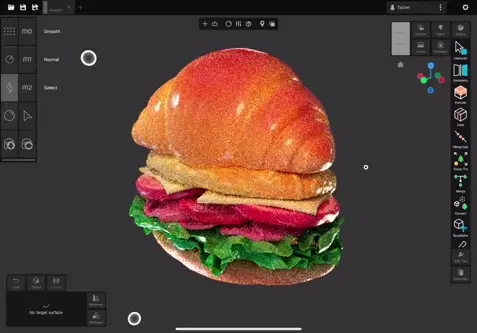
Introduction to SDF modelling with SolidVolume
Tools Used
All listed tools, procedural and overrides can be found in Uniform's gallery

Volume Box Object

Volume Sphere Object

Volume Cylinder Object
This is how you can get started with SDF modeling in Uniform using the SolidVolume objects. Most 3D software and graphics are typically based on meshes, which consist of a set of vertices and polygons used to construct a model. SDFs offer an alternative way of representing 3D scenes. They use mathematical formulas to describe a shape’s volume with virtually infinite resolution, smooth transitions, and perfectly sharp edges. If you’re familiar with 2D design software, you can think of SDFs as the 3D equivalent of vector graphics. This analogy should give you an intuitive understanding of their advantages and limitations.
First, it’s important to note that GPU Volume objects are significantly more performance-intensive compared to meshes or curves, especially when covering large areas of the screen. Keep this in mind when planning your projects and optimize your scenes accordingly.
To begin working with Solid Volumes, open the Add panel and select any preset under Procedural Volume. This will add an object with a shape and corresponding gizmos to the scene. Different presets have different gizmos for adjusting their shape.
Next, repeat the process to add a sphere object to the scene. After selecting a volume object, hold down the M1 shortcut to move and rotate it using the transform gizmo. You can also hold down M2 to perform snapped rotations.
Finally, add a cylinder volume object to the scene using the same method. We’ll use this setup to demonstrate how you can create more complex shapes by blending and applying Boolean operations.
The controls at the bottom of the screen provide quick access to the selected volume object’s properties. Select the cylinder object and change its color. Then, adjust the blend mode and observe how it affects the scene. The default Boolean operations are Union, Difference, and Intersection. The Material Blend mode affects materials and colors without altering the shape. The “clear material” and “clear intersection” modes apply the corresponding Boolean operation to the shape while preserving the materials and colors of existing objects. Increasing the Blending value will make transitions to the selected shape smoother.
Now, open the Scene Outliner. As you can see, the three objects you added appear in the order they were created. When working with volume objects, the outliner’s order is crucial because it determines the sequence in which Boolean and blending operations are applied. You can reorder objects by holding down and dragging them in the outliner.
In the current scene, select the Cylinder volume shape and set it to Subtract. Notice that the cylinder subtracts from both the sphere and the cube. This happens because each shape blends with everything that precedes it in the outliner. Now, drag the cylinder above the sphere. You’ll see that the cylinder no longer subtracts from the sphere. With this new order, the cube is added first, then the cylinder subtracts its volume, and finally, the sphere is added.
If you want to add more detail to a shape created with multiple volume objects, you can convert it to a GeoMesh object for high-poly sculpting. With a volume object selected, open the Object Inspector and choose Apply Volume Group. In the pop-up menu, the Voxel Count determines the resulting mesh’s geometry density. If Delete Volume Objects is enabled, all volume objects used for the shape will be removed from the scene and replaced with a single GeoMesh object. Once converted, you can continue using other destructive tools like sculpting, painting, or geometry export.
More Tutorials
Create Stylized Hair using GeoCurve
Dynamic brush effects with Brush Overlay modules
Introduction to High Poly Sculpting
Getting started with Cloth Simulations
Prepare Uniform scenes for 3D Printing
Advanced Sculpting features overview